PostgreSQL 설치
1. 설치
- 공홈 또는 출처 중 하나 들어가서 그대로 설치
2. 비번 설정
1
# passwd postgres
3. 비번 변경 및 확인
1
2
3
[JonahWeimer@localhost ~]$ sudo -i력
-----------------------------------------
[sudo] password for JonahWeimer: 비번 입력
1
2
3
4
5
6
[root@localhost ~]# su - postgres
[postgres@localhost ~]$ id
uid=26(postgres) gid=26(postgres) groups=26(postgres) context=unconfined_u:unconfined_r:unconfined_t:s0-s0:c0.c1023
[postgres@localhost ~]$ psql
psql (13.2)
Type "help" for help.
1
2
3
4
5
6
7
postgres=# SET password_encryption='scram-sha-256';
SET
postgres=# ALTER USER postgres WITH PASSWORD 'postgres';
ALTER ROLE
postgres=# exit
[postgres@localhost /]$ exit
logout
4. 설정파일 편집
1
# vi /var/lib/pgsql/12/data/pg_hba.conf
1
2
3
4
5
6
7
8
9
10
11
12
13
14
// 이렇게 편집
# TYPE  DATABASE        USER            ADDRESS                 METHOD
local   all             postgres                                scram-sha-256
# "local" is for Unix domain socket connections only
local   all             all                                     scram-sha-256
# IPv4 local connections:
host    all             all             127.0.0.1/32            scram-sha-256
# IPv6 local connections:
host    all             all             ::1/128                 scram-sha-256
# Allow replication connections from localhost, by a user with the
# replication privilege.
local   replication     all                                     peer
host    replication     all             127.0.0.1/32            ident
host    replication     all             ::1/128                 ident
5. 설정 후 재기동
1
# systemctl restart postgresql-13
6. 실행(모두 같음)
1
2
3
4
5
[root@localhost ~]# psql -U postgres
Password for user postgres:
psql (13.2)
Type "help" for help.
postgres=# \q
1
2
3
4
5
6
7
[root@localhost ~]# psql -U postgres -W
Password:
psql (13.2)
Type "help" for help.
postgres=# \q
[root@localhost ~]# exit
logout
1
2
3
4
5
6
7
[postgres@localhost ~]$ psql -U postgres
Password for user postgres:
psql (13.2)
Type "help" for help.
postgres=# \q
[postgres@localhost ~]$ exit
logout
1
2
3
4
5
[JonahWeimer@localhost ~]$ psql -U postgres -W
Password:
psql (13.2)
Type "help" for help.
postgres=# \q
7. pgAdmin 설치
1
2
// 설치 후 실행 : linux pgadmin4는 아이디로 로그인이 필요하므로 계정 생성과정을 거쳐야 함.
# /usr/pgadmin4/bin/setup-web.sh
8. 접속
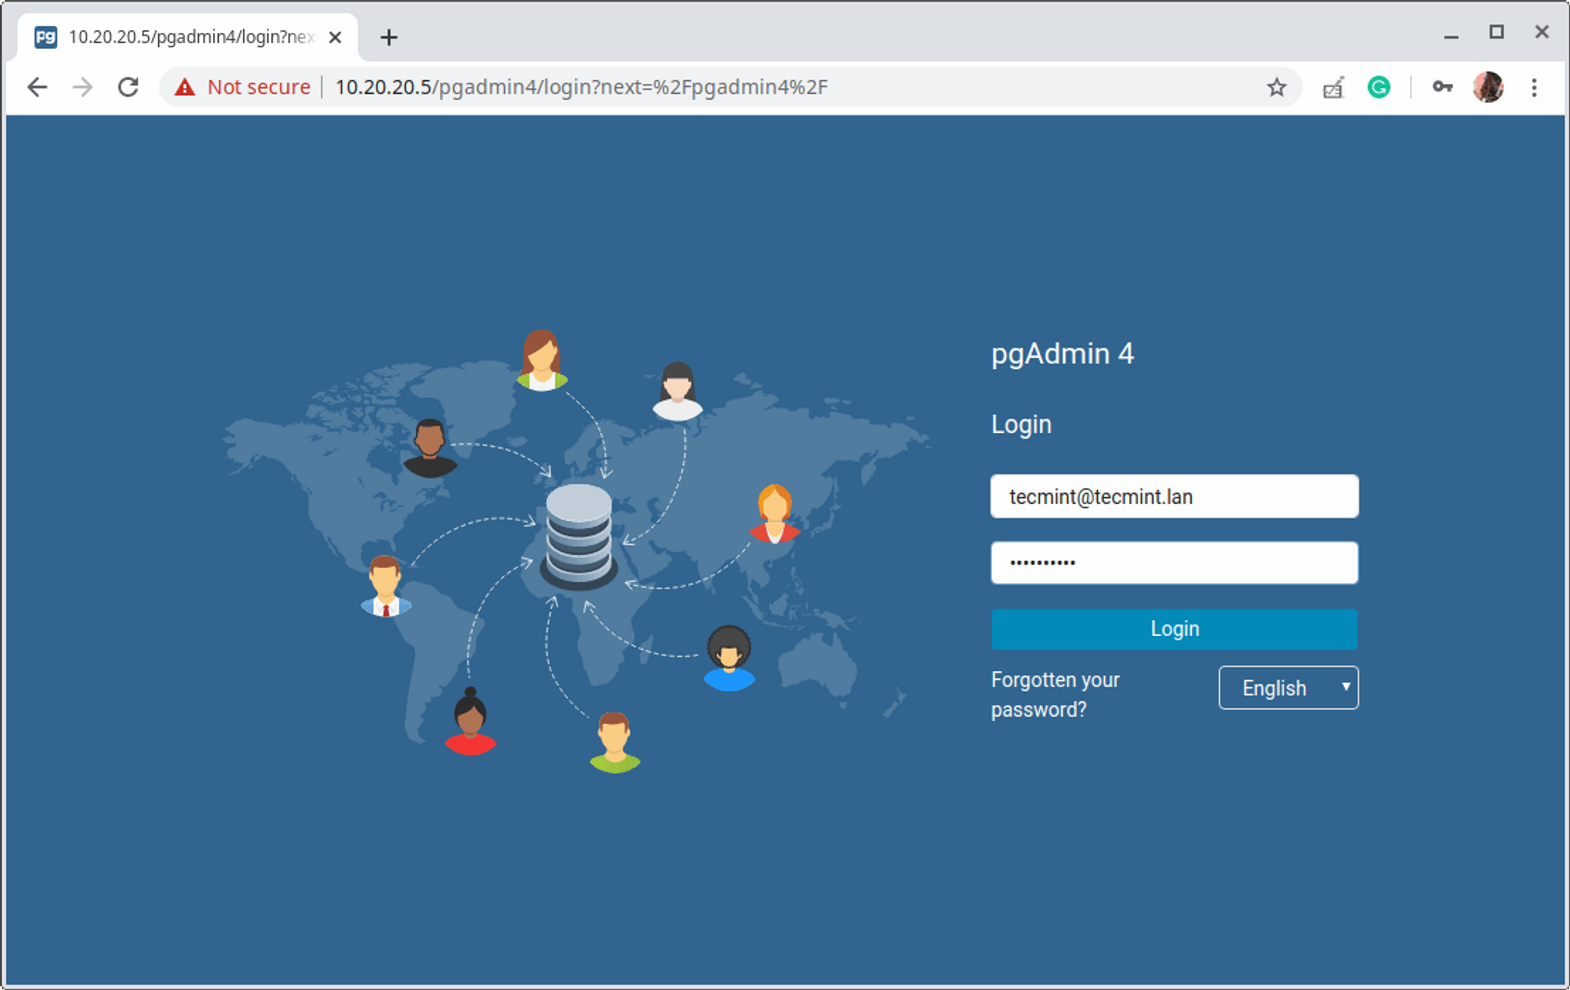
- http://localhost/pgadmin4

9. 출처
- https://www.tecmint.com/install-postgressql-and-pgadmin-in-centos-8/
- https://m.blog.naver.com/PostView.nhn?blogId=jodi999&logNo=221337438660&proxyReferer=https:%2F%2Fwww.google.com%2F
- https://info-lab.tistory.com/182
- [공식] https://www.postgresql.org/download/linux/
Intellij 설치
1. 설치
- 공홈에서 tar파일 다운로드
- 파일 다운로드 디렉토리로 이동, 터미널에 다음 실행
1
sudo tar -xvzf ~/Downloads/ideaIC-2020.2.tar.gz
1
sudo mv idea-IC-202.6397.94 idea
1
/(download directory)/idea/bin/idea.sh
2. git token
- intellij 화면에서 git 로그인 하면 됨
3. java 환경변수 등록
- https://offbyone.tistory.com/6
- java-1.8.0-openjdk-1.8.0.282.b08-2.el8_3.x86_64
- https://copycoding.tistory.com/290
- https://bamdule.tistory.com/57
4. 출처
- https://www.javahelps.com/2020/12/install-intellij-idea-20202-and-older.html
WiFi 연결
무선 wifi 연결(wpa_psk 방식)
1
2
3
4
5
6
7
8
9
10
$ iwconfig //디바이스 이름 확인

$ ifconfig enp1s0 down //유선랜 다운
$ ifconfig wlp2s0 up //무선랜 활성화

$ su
$ cd /etc/wpa_supplicant
$ vim wpa_supplicant.conf //vi 편집기로 편집
 // i(insert) -> 수정완료(esc) -> 저장(:wq + Enter)
1
2
3
4
5
6
7
8
9
10
11
 // 편집내용
  network = {
   ssid="wifiName"
   #psk="wifiPassword"
   psk=new_create_psk
   proto=RSN
   key_mgmt=WPA-PSK
   pairwise=CCMP TKIP
   group=CCMP
  }
1
2
3
4
$ iwconfig wlp2s0 essid "wifiName"
$ wpa_supplicant -iwlp2s0 -c /etc/wpa_supplicant/wpa_supplicant.conf &
$ dhclient -v wlp2s0
// 모두 입력 후 다시 연결하면 됨.
기타
동영상- https://www.binarycomputer.solutions/install-ffmpeg-centos-8-yum-dnf/
계정명 바꾸기- https://ksj14.tistory.com/entry/Linux-user-name-변경-home-directory-변경
- https://xevolts.tistory.com/10
wifi- https://argali.tistory.com/79
jdk- http://openjdk.java.net/install/
- https://offbyone.tistory.com/6
1
$ su -c "yum install java-1.8.0-openjdk"
visual studio- https://code.visualstudio.com/docs/setup/linux
nodejs- https://nirsa.tistory.com/193
su(로그아웃 없이 계정 전환)- https://withcoding.com/106
git 설치쿠버네티스 설치 통합- https://www.atlantic.net/vps-hosting/how-to-install-kubernetes-with-minikube-on-centos-8/
kubectl- https://kubernetes.io/docs/tasks/tools/install-kubectl-linux/
minikube- https://minikube.sigs.k8s.io/docs/start/
- https://minikube.sigs.k8s.io/docs/drivers/docker/
- https://waspro.tistory.com/587
- https://m.blog.naver.com/noggame/222046965262
docker- https://docs.docker.com/engine/install/centos/#installation-methods
- https://sidepower.tistory.com/124
- https://docs.docker.com/engine/install/linux-postinstall/
- https://www.leafcats.com/190
Reference
- https://www.javatpoint.com/how-to-install-intelij-idea-on-centos
- https://racoonlotty.tistory.com/entry/Ubuntu2004-IntelliJ-설치-Java-Hello-World
- 설치 : https://neoprogrammer.tistory.com/6
- chrome 설치 : https://openart.tistory.com/2486
- fcitx 설치 및 삭제 : http://linuxmint.kr/App/13152
- mysql 설치 및 삭제 : https://velog.io/@ywoosang/우분투-MySQL-Workbench-설치-pbco0ee5
- 한글키 : https://omnil.tistory.com/155