
1. JWT 소개, 프로젝트 생성
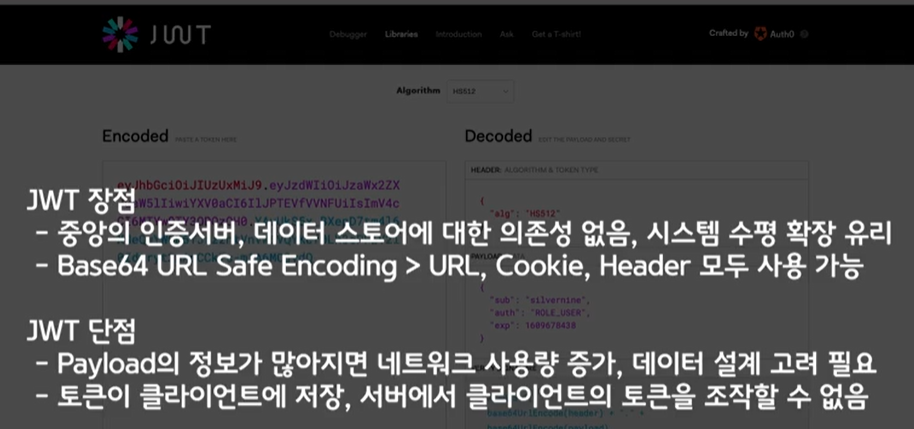
- JWT 장점: 간편하고 쉽게 적용 가능 → 사이드 프로젝트 진행 시 유용
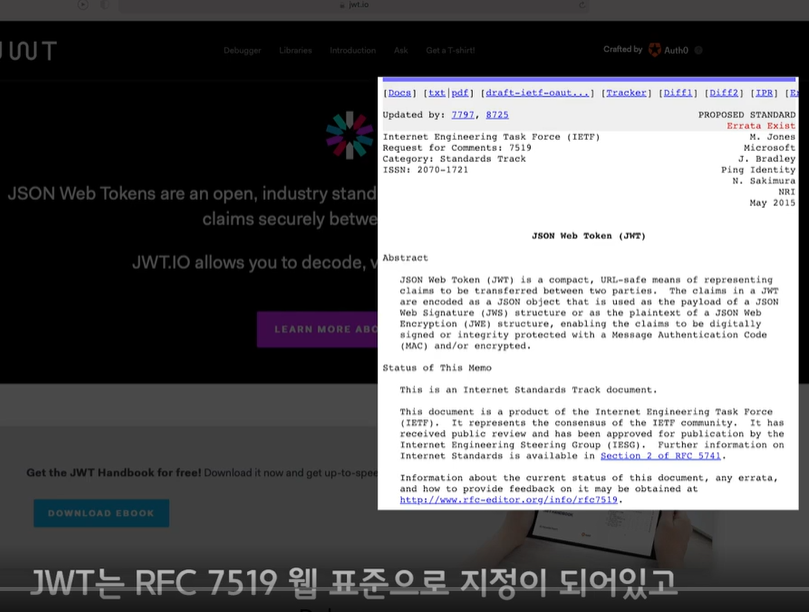
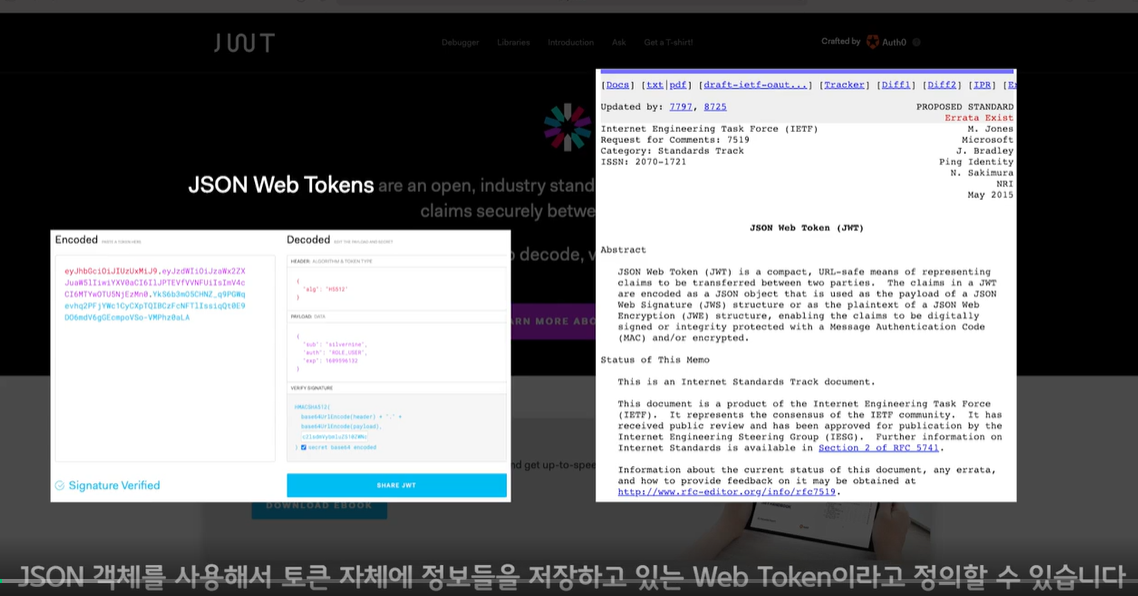
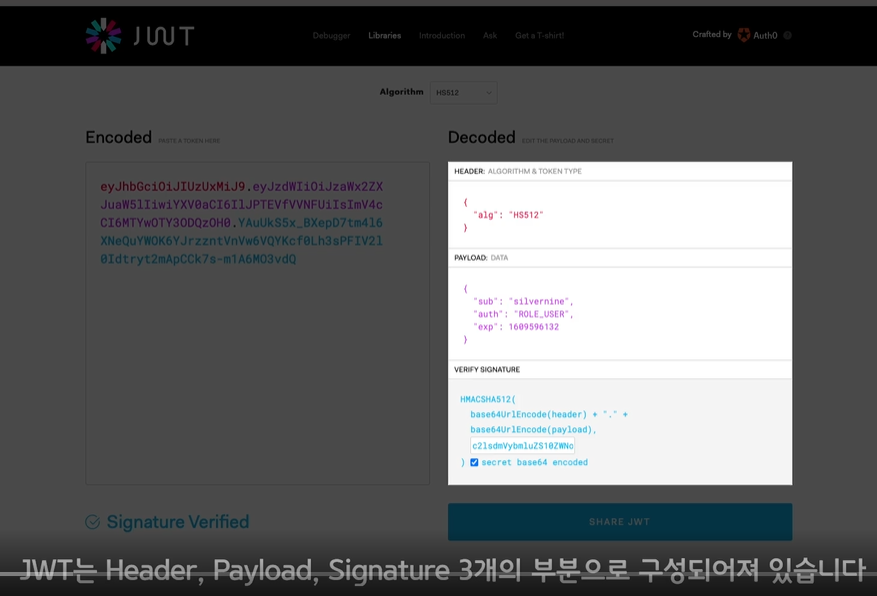
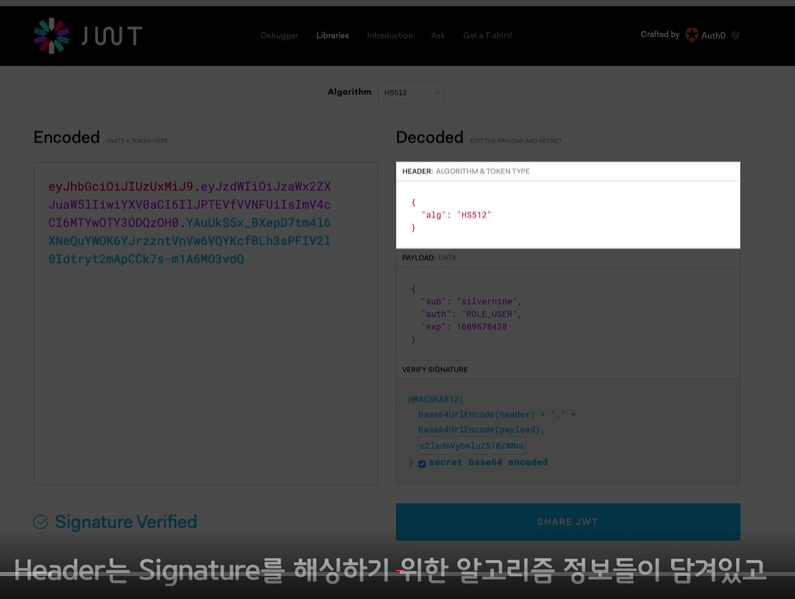
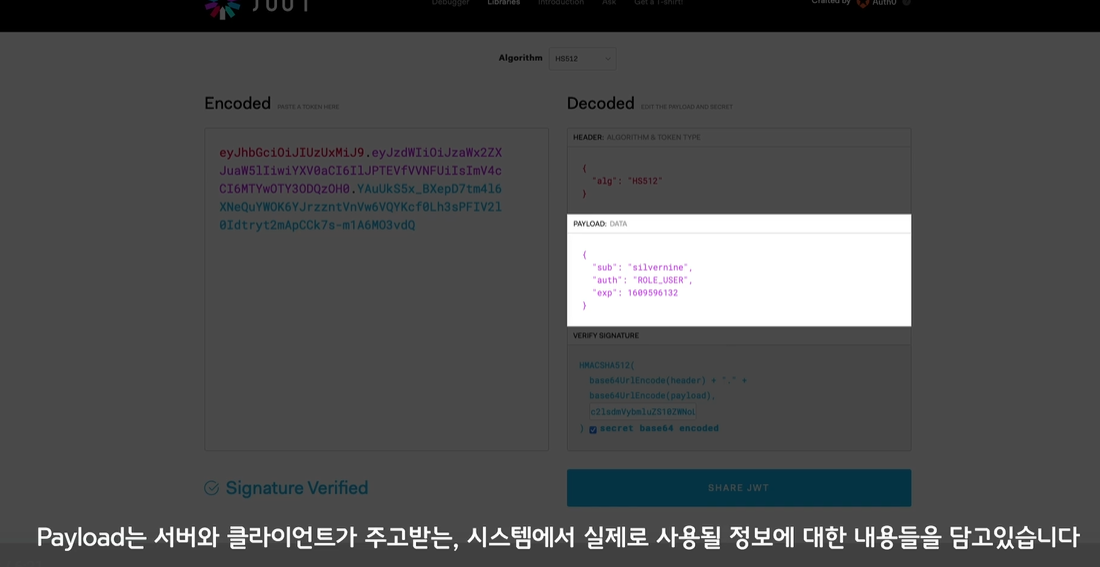
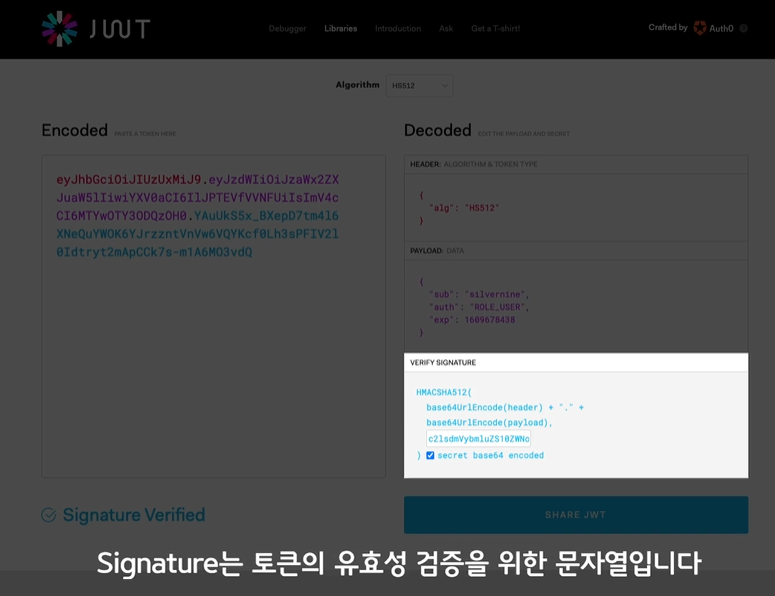
⇒ 이 문자열을 통해 서버에서 해당 토큰이 유용한지 검증
실전
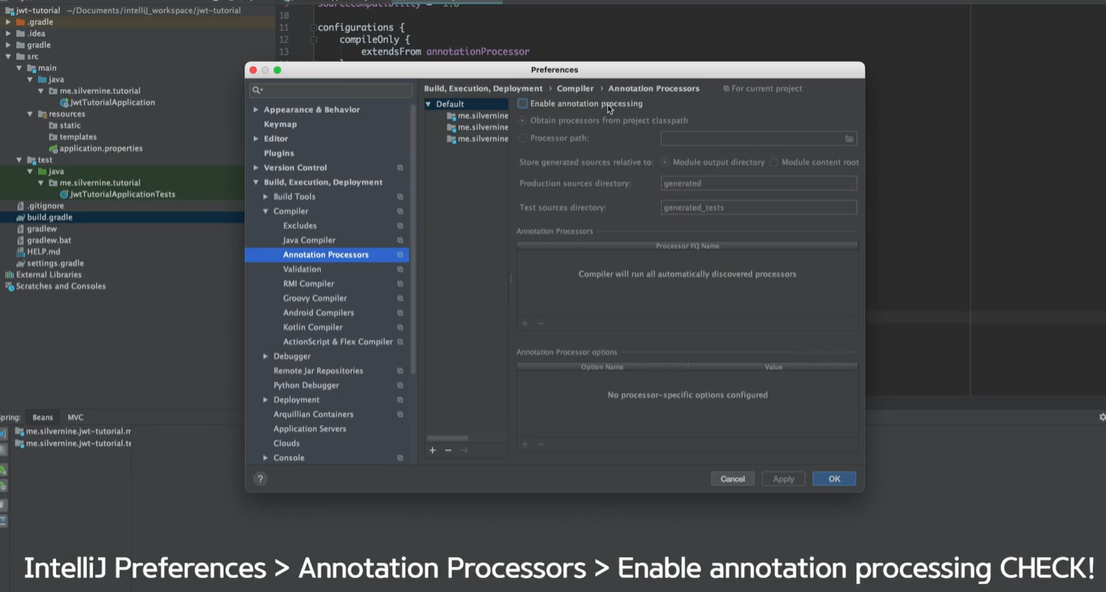
- lombok 설정(intellij 사용 시)
- HelloController.java 생성
2. Security 설정, Data 설정
- SecurityConfig.java 생성
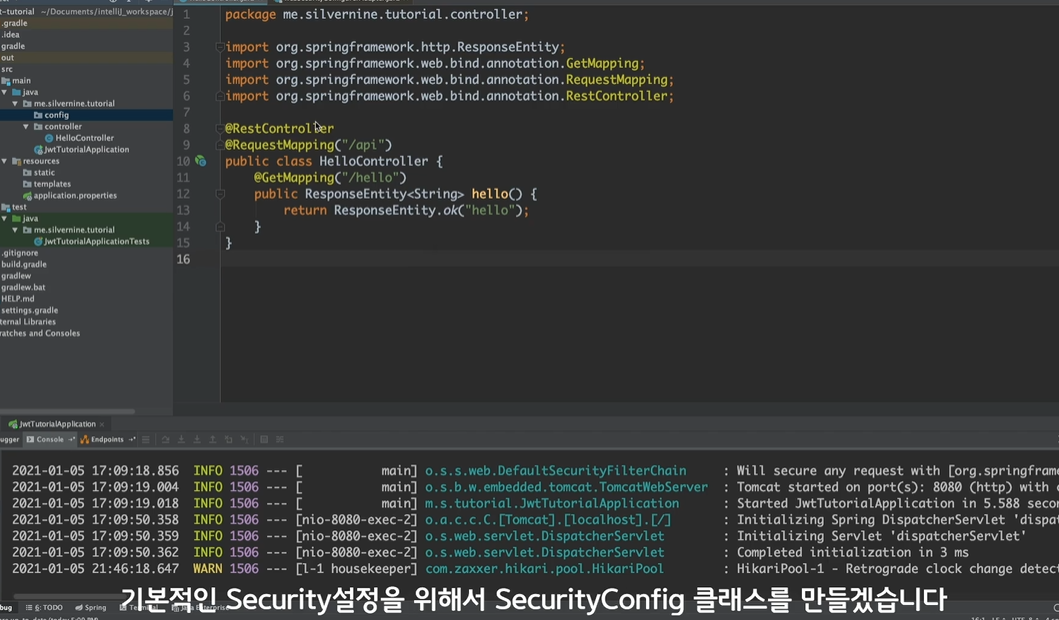
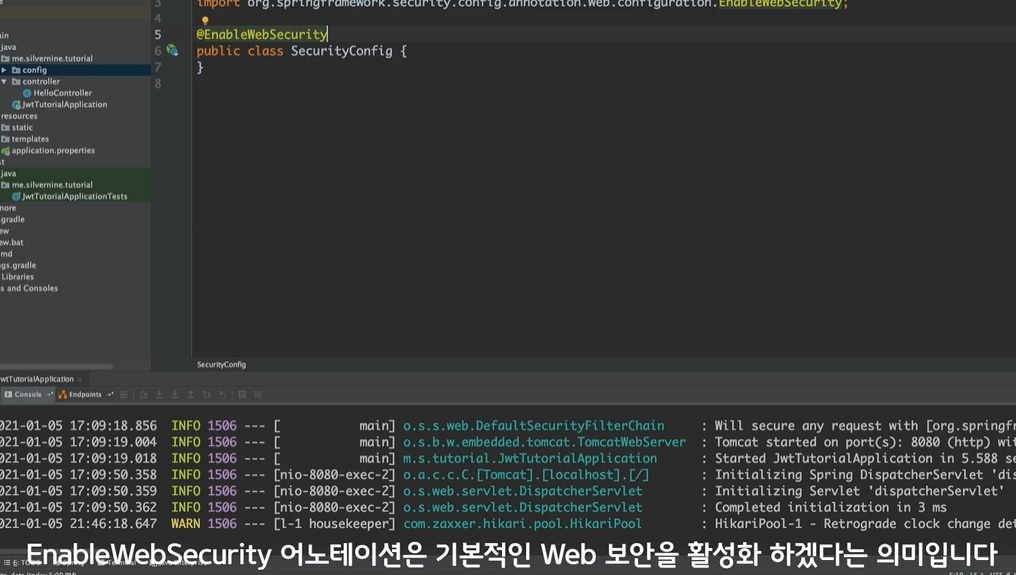



JWT 설정
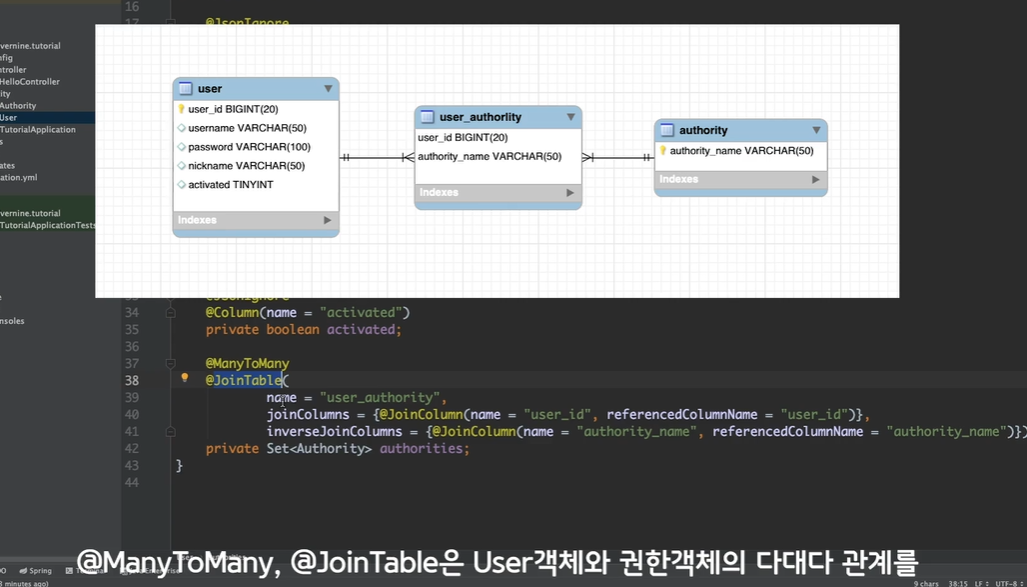

Authority.java
- User entity와 동일
data.sql 생성
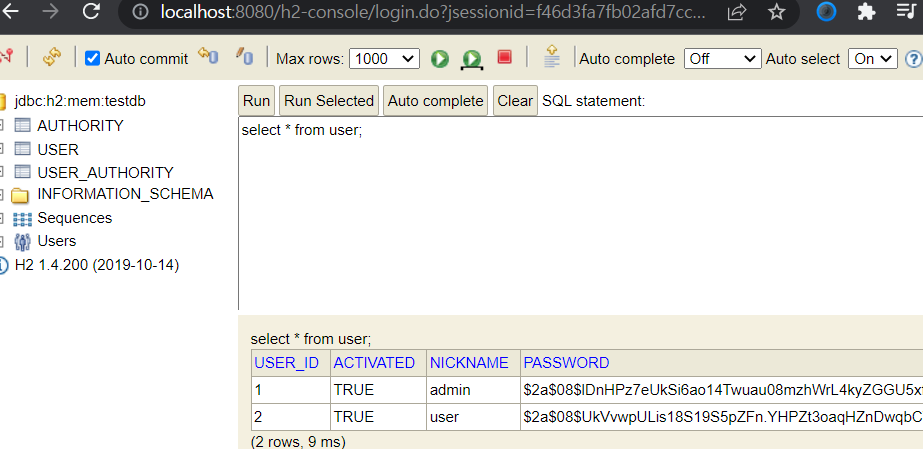
h2-console을 이용해 엔티티 생성 여부 확인
- security 설정 추가
- 버그: https://github.com/abarthdew/jwt-tutorial/issues/5
- 실행: shell에 쿼리문 출력
1
2
3
4
5
6
7
8
9
10
11
12
13
14
15
16
17
18
19
20
21
22
23
24
25
26
27
28
29
30
31
32
33
34
35
36
37
38
39
40
41
42
43
44
45
46
47
48
  Hibernate:

      drop table if exists authority CASCADE
  Hibernate:

      drop table if exists user CASCADE
  Hibernate:

      drop table if exists user_authority CASCADE
  Hibernate:

      create table authority (
         authority_name varchar(50) not null,
          primary key (authority_name)
      )
  Hibernate:

      create table user (
         user_id bigint generated by default as identity,
          activated boolean,
          nickname varchar(50),
          password varchar(100),
          username varchar(50),
          primary key (user_id)
      )
  Hibernate:

      create table user_authority (
         user_id bigint not null,
          authority_name varchar(50) not null,
          primary key (user_id, authority_name)
      )
  Hibernate:

      alter table user
         add constraint UK_sb8bbouer5wak8vyiiy4pf2bx unique (username)
  Hibernate:

      alter table user_authority
         add constraint FK6ktglpl5mjosa283rvken2py5
         foreign key (authority_name)
         references authority
  Hibernate:

      alter table user_authority
         add constraint FKpqlsjpkybgos9w2svcri7j8xy
         foreign key (user_id)
         references user
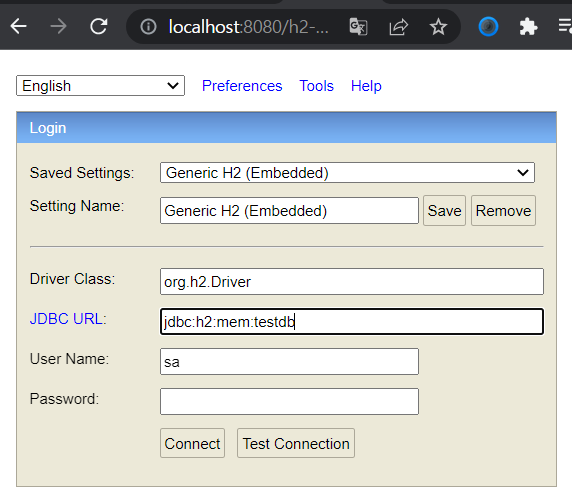
어플리케이션 실행 후 DB 접속
localhost:8080/h2-console → [connect] 버튼 클릭해서 접속
![]()
![]()
3. JWT 코드, Security 설정 추가
To Do
- JWT 설정 추가
- JWT 관련 코드 개발
- Security 설정 추가
application.yml에 JWT 설정 추가
build.gradle에 JWT 라이브러리 추가
JWT 개발 - jwt 패키지 추가
1) TokenProvider.java
2) JwtFilter.java
3) JwtSecurityConfig.java
4) JwtAuthenticationEntryPoint.java
5) JwtAccessDeniedHandler.java
위 5개의 클래스를 SecurityConfig.java 에 적용
4. DTO, Repository, 로그인
1) 외부와의 통시에 사용할 DTO 클래스가 있는 패키지 생성
2) respository 패키지 생성
: User entity에 매핑되는 repository를 생성하기 위해, UserRepository 인터페이스 생성
3) service
: SpringSecurity에서 가장 중요한 부분 중 하나인 UserDetailsService를 커스텀하게 구현한 CustomUserDetailsService 클래스 생성
4) 로그인 api 추가: AuthController
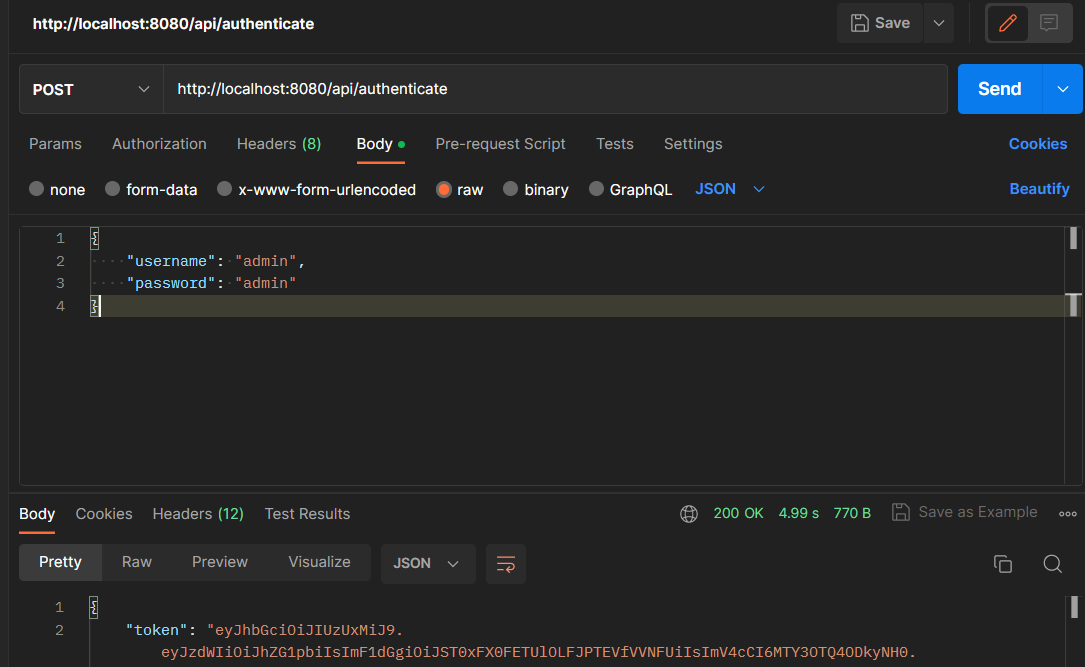
5) postman 테스트
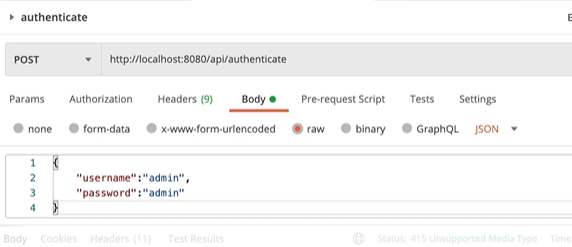
(admin은 data.sql의 insert문이 서버가 시작될 때 자동실행되어 db에 저장된 상태)
⇒ 결과: 토큰 리턴
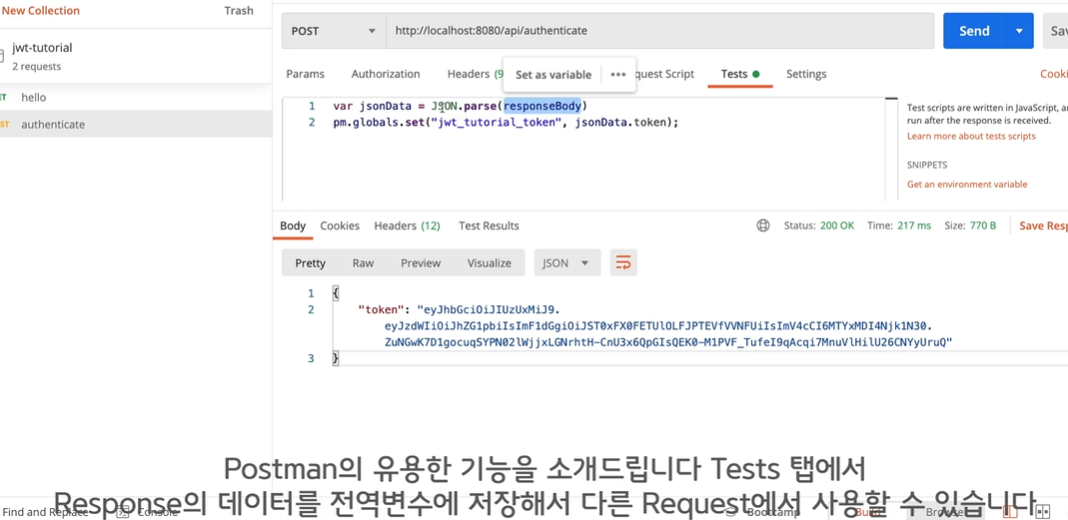
(+) 유용한 기능
5. 회원가입, 권한검증
1) SecurityUtil 패키지, 클래스 생성: 간단한 유틸리티 메서드를 만들기 위함
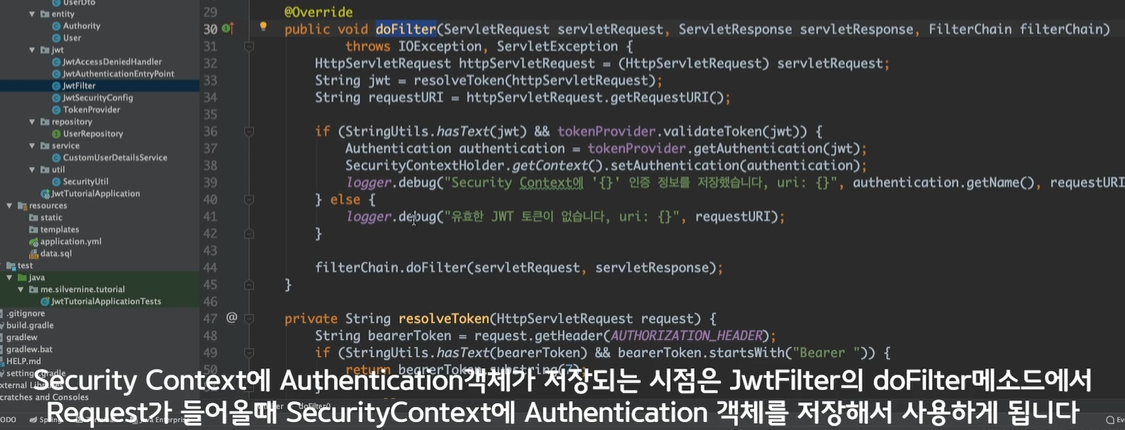
SecurityContext에 getAuthentication()와 같이 Authentication 객체가 저장되는 시점:
![]()
1
2
3
4
  // JwtFilter.java의 doFilter() 메서드

  // request가 들어오는 시점에 SecurityContext에 Authentication 객체가 저장됨
  SecurityContextHolder.getContext().setAuthentication(authentication);
- 이때 저장된 객체가 ```java // 여기서 꺼내지게 됨
// SecurityUtil.java의 getCurrentUsername() 메서드 SecurityContextHolder.getContext().getAuthentication(); ```
2) 회원가입 로직 생성: UserService 클래스 생성
(1) data.sql의 권한은 USER, ADMIN
→ UserService의 ROLE_USER 권한과의 차이를 통해 테스트
(2) 오버로딩된 두 가지 getMyUserWithAuthorities() 메서드
1
2
3
4
5
6
7
8
9
10
11
12
13
14
15
16
17
18
19
20
21
22
23
24
25
26
27
28
29
30
31
32
33
34
35
36
37
38
39
40
→ 허용 권한을 다르게 해서, 권한 검증 부분 테스트 ### 3) Service 내 메서드를 호출할 Controller 생성 ### 4) 서버 시작 후 postman, h2-console로 UserController 회원가입 테스트 (1) 회원가입 진행

```sql
Hibernate:
select
user0_.user_id as user_id1_1_0_,
authority2_.authority_name as authorit1_0_1_,
user0_.activated as activate2_1_0_,
user0_.nickname as nickname3_1_0_,
user0_.password as password4_1_0_,
user0_.username as username5_1_0_,
authoritie1_.user_id as user_id1_2_0__,
authoritie1_.authority_name as authorit2_2_0__
from
user user0_
left outer join
user_authority authoritie1_
on user0_.user_id=authoritie1_.user_id
left outer join
authority authority2_
on authoritie1_.authority_name=authority2_.authority_name
where
user0_.username=?
Hibernate:
insert
into
user
(user_id, activated, nickname, password, username)
values
(default, ?, ?, ?, ?)
Hibernate:
insert
into
user_authority
(user_id, authority_name)
values
(?, ?)
```
(2) 가입정보 h2-console에서 확인
1
2
3
4
5
6
7
8
9
10
11
12
13
14
15
16
17
18
19
20
21
22
23
24
25
26
27
28
29
30
31
32
33
34
35

- test3 계정은 USER 권한을 가지고 있음
- admin 계정은 ROLE_ADMIN, ROLE_USER 권한 2가지를 가지고 있음 ### 4-2) 서버 시작 후 postman, h2-console로 UserController get\[My\]UserInfo() 테스트 (1) ADMIN 권한만 허용했던 api 테스트
```java
@GetMapping("/admin/{username}")
@PreAuthorize("hasAnyRole('ADMIN')") // ADMIN 권한만 호출
public ResponseEntity<User> getAdminInfo(@PathVariable String username) {
return ResponseEntity.ok(userService.getUserWithAuthorities(username));
}
```
- ⇒ 그냥 실행하면 에러남

- USER, ADMIN 권한 모두 가진 admin 계정으로 토큰 발급

- Authorization 탭에 토큰 적재
```java
// Tests 탭
var jsonData = JSON.parse(responseBody) // responseBody의 jsonDate를 파싱
pm.globals.set("jwt_tutorial_token", jsonData.token);
// jsonData.token: token 필드에 있는 값을
// “jwt_tutorial_token” 변수에 담음
```

- ↓ 이렇게 해 놓으면 다른 request에서도 해당 변수의 값 사용 가능

(2) admin 계정 토큰으로 test1 계정 정보 가져오기 - /api/user/test1 : ("hasAnyRole('USER')") // USER 권한만 호출 - /api/admin/test1 : ("hasAnyRole('ADMIN')") // ADMIN 권한만 호출
1
2
3
4
5
⇒ 둘 다 동일한 test1 계정의 정보가 출력됨


(3) admin 계정 토큰이 아닌 test1 토큰을 발급받는다면?
1
2
3
4
5
6
7
8
9
10
11
12
13
14
15
16
17
18
19

⇒ 새로 발급된 토큰은 “jwt_tutorial_token” 전역변수에 담겨지게 됨
- `("hasAnyRole('ADMIN')") // ADMIN 권한만 호출` → 403 Forbidden 오류 발생

⇒ test1 계정으로 발급받은 토큰은 해당 api를 호출하는 권한이 없음
⇒ 403 Forbidden 오류: JwtAccessDeniedHandler가 작동
- /api/user/test1: `("hasAnyRole('USER')") // USER 권한만 호출` → 정상 작동

- /api/user: `("hasAnyRole('USER','ADMIN')") // @PreAuthorize를 통해 USER, ADMIN 두 가지 권한 모두 허용` → 정상 작동
